
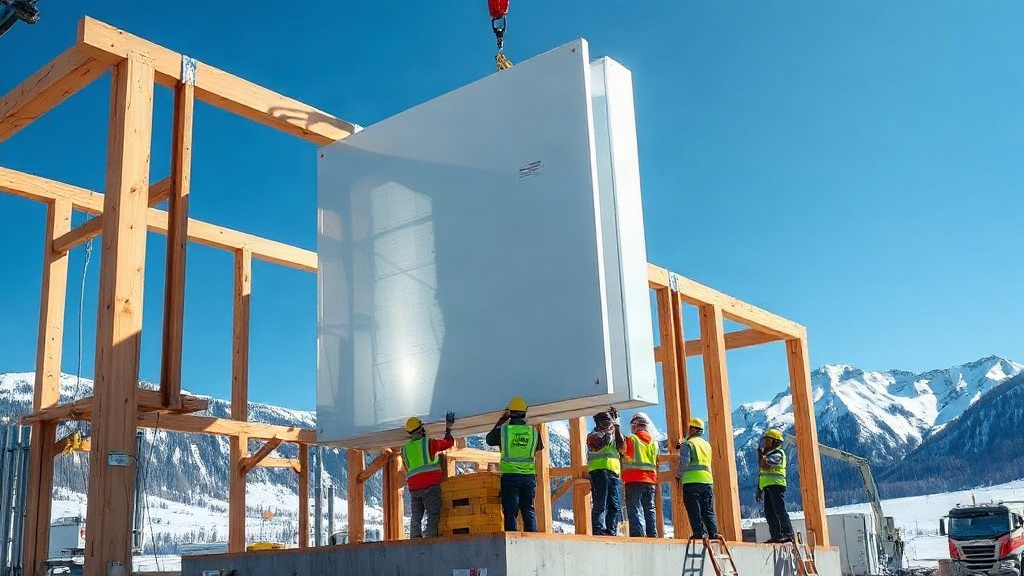
When you're on a job site in Canada, whether it's a sprawling warehouse in Ontario or a cold storage facility in Alberta, the difference between a successful project and a costly callback often comes down to one thing: getting Panel Installation & Specs right. I've been installing sandwich panels for over 15 years, and I've seen firsthand how small oversights in specification or installation can lead to big problems down the road. This guide shares what I've learned, so you can avoid the pitfalls and deliver a building that performs as good as it looks.
Why Panel Specs Matter More Than You Think
Sandwich panels are not just a commodity; they are a engineered system. The core material, facing type, and thickness all dictate thermal performance, fire safety, and structural integrity. In Canada, where temperature swings can exceed 60°C and snow loads are a real concern, specifying the wrong panel can be disastrous.
Core Materials: PIR vs. Mineral Wool
The two most common core materials are polyisocyanurate (PIR) and mineral wool. PIR offers excellent thermal insulation with an R-value of about 6.5 per inch, making it ideal for refrigerated warehouses and energy-efficient buildings. Mineral wool, on the other hand, is non-combustible and provides superior fire resistance, often required for commercial kitchens or high-occupancy buildings. I always ask my clients: what's the primary risk you're mitigating? Energy costs or fire? That answer drives the spec.
Facing Options: Steel, Aluminum, and More
Most panels use steel facings, typically 26 or 24 gauge. For corrosive environments like food processing plants, you might need stainless steel or a specialized coating. Aluminum facings are lighter but more expensive and prone to denting. I've seen too many projects where the spec called for 26-gauge steel in a high-traffic area, and within a year, the panels looked like they'd been through a hailstorm. Don't skimp on facing thickness if durability is a priority.
Installation Best Practices from the Field
Even the best-specified panel will fail if installed incorrectly. Here are the steps I follow on every job to ensure a tight, long-lasting envelope.
1. Proper Handling and Storage
Panels are fragile until they're locked together. I've seen crews stack them directly on the ground, only to find bent edges and compressed cores. Always store panels on a flat, elevated surface with adequate support. Use spreader bars when lifting with a crane to avoid point loads. And never drag panels across each other; the facings will scratch, and the interlocking edges can get damaged.
2. Sequencing: Start from a Corner
Begin installation at a corner and work outward. This ensures squareness and minimizes cumulative error. Before you lock the first panel in place, check for plumb and level. I use a laser level to project a line on the floor and ceiling; it's a small investment that saves hours of rework.
3. Sealing and Fastening
Every joint needs a continuous bead of sealant. I prefer a high-quality butyl or silicone sealant that remains flexible in cold temperatures. As for fasteners, self-drilling screws with EPDM washers are standard, but pay attention to screw placement: too close to the panel edge and you'll crush the core; too far and you'll get gaps. Follow the manufacturer's spacing guidelines, typically 12 to 18 inches on center.
4. Thermal Bridging: Don't Ignore It
Thermal bridging occurs when fasteners or structural elements create a path for heat to bypass the insulation. In Canada, where every joule counts, this can significantly reduce energy efficiency. Use thermal breaks where possible, and consider panels with concealed fastening systems for high-performance buildings.
Common Mistakes and How to Avoid Them
Over the years, I've compiled a list of recurring errors that cost time and money. Here are the top three:
- Ignoring expansion and contraction: Panels expand and contract with temperature changes. If you install them tight against each other without room for movement, you'll get buckling or gaps. Always allow for a 1/8-inch gap at panel ends and use slotted clips where required.
- Inadequate flashing: Water is the enemy of any building envelope. Flashing at openings, roof junctions, and base details must be designed to shed water away from the panels. I've seen too many leaks caused by a missing drip edge.
- Skipping the moisture barrier: Even though sandwich panels have a built-in vapor barrier, some installations require an additional air/moisture barrier, especially in high-humidity environments. Check your local building code; it might be mandatory.
Canadian Code Compliance: What You Need to Know
In Canada, building codes vary by province, but the National Building Code (NBC) sets the baseline. For sandwich panels, key considerations include fire performance (CAN/ULC S101), structural adequacy (CAN/ULC S102), and thermal resistance (CAN/ULC S702). Always request test reports from your supplier. I can't stress this enough: if a supplier can't provide third-party certification, walk away. Your reputation is on the line.
Frequently Asked Questions
What is the minimum thickness for sandwich panels in cold climates?
For Canadian winters, I recommend at least 4 inches (100 mm) of PIR core for walls and 6 inches (150 mm) for roofs. This provides an R-value of around 26 and 39, respectively, which meets most energy codes. However, for refrigerated buildings, you might need 6 to 8 inches.
Can I install sandwich panels over existing cladding?
Yes, but it's not always straightforward. You need to ensure the existing substrate is structurally sound and flat. Also, you'll need to account for the added thickness at openings and flashings. I usually recommend removing old cladding unless it's in excellent condition and you're just adding insulation.
How do I handle penetrations for pipes or ducts?
Penetrations must be carefully sealed to maintain the envelope's integrity. Use pre-formed boots or sleeves that match the panel profile. Seal around the penetration with a flexible sealant and add flashing if exposed to weather. Never cut a hole larger than necessary; a snug fit is better.
What's the typical lifespan of sandwich panels?
With proper installation and maintenance, sandwich panels can last 30 to 50 years. The facings are usually the first to show wear, especially in harsh environments. Regular inspections and touch-ups of scratches can extend the life significantly.
Final Thoughts: Get It Right the First Time
Panel Installation & Specs is not just a technical detail; it's the foundation of a high-performance building. By understanding the materials, following best practices, and staying compliant with codes, you'll deliver projects that stand up to Canadian weather and exceed client expectations. If you're ever unsure, consult with experienced installers or manufacturers. A little extra planning now saves a lot of headaches later.